Pollinator Game


OBJECTIVE
Students will understand the process of pollination
Students will be able to name some pollinators
ESSENTIAL QUESTIONS
Who are our pollinators?
What happens during pollination?
MATERIALS NEEDED
Activity One:
- Black and white pictures of flowers for children to color in
- Markers/colored pencils
- Yellow chalk
- Printed photos of examples of some pollinators (bees, butterflies, black flies, beetles, bats) on flowers
- Fresh flower with pollen
Activity Two:
- Dead bee specimens
- Magnifying glasses
- Yellow foam pieces/cardboard (bee bodies)
- Yellow pompoms, black pipe cleaners
- White paper or coffee filters (wings)
- Glue
- Markers
Activity Three:
- Glue
- old seeds
- students colored flowers
- students bees from weeks one and two
Activity Four:
- Compost
- hand trowels
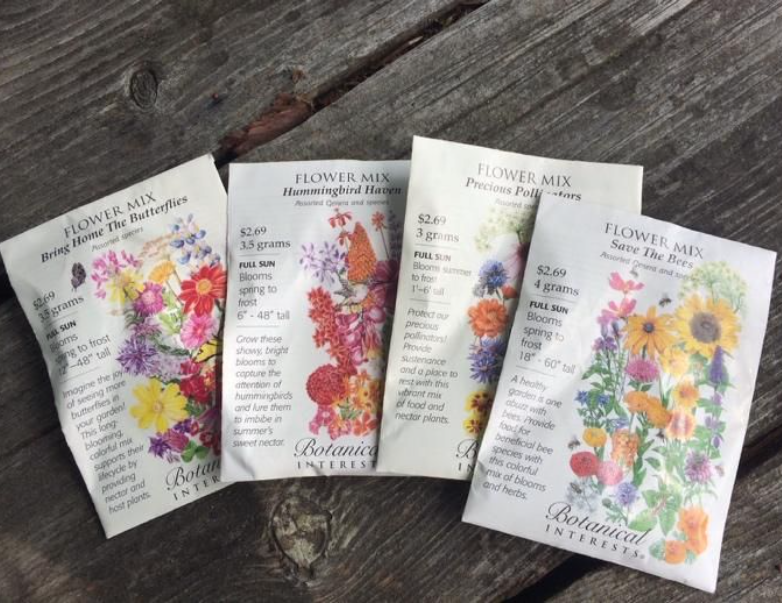
- packets of flower seed mixes that attract pollinators
- small cups for seeds
PROCEDURE
This lesson can be done over multiple days/weeks or one condensed lesson
Print out flower coloring pages and photos of pollinators, find a flower with pollen (nasturtiums work well)
Opening:
Tell the children that we’re going to start learning about pollination. Ask whether anyone knows and can explain what pollination is. Pass around the flower with pollen and explain that most plants produce flowers, which are filled with pollen. Let them stick their fingers in the flower and touch the pollen. This pollen needs to get mixed up with pollen from other plants in order for the plants to make seeds. Ask students why seeds are important.
Activity One:
Explain that bugs and animals that help plants mix up their pollen are called pollinators. Ask if anyone can name any pollinators. Some will know that bees and butterflies pollinate, so go through the pictures of other pollinators and tell them about lesser-known pollinators.
Tell students that over the next few weeks we’re going to make our own flowers and our own pollinators, then play a game where we use our pollinators to pollinate our flowers! The first step is to make flowers.
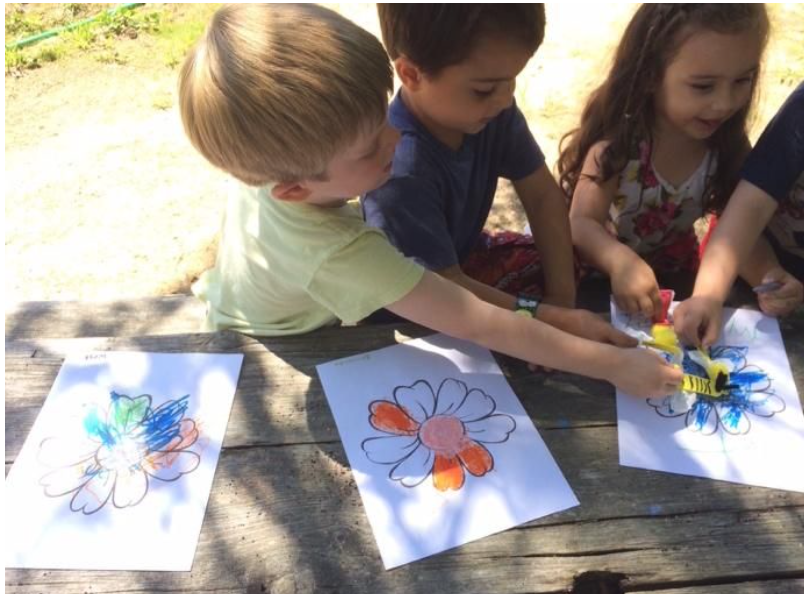
Look again at the pictures of pollinators, and ask students what they notice about the flowers. They’re usually bright and colorful. Explain that bright colorful flowers attract pollinators, so we should keep that in mind when making our own flowers.
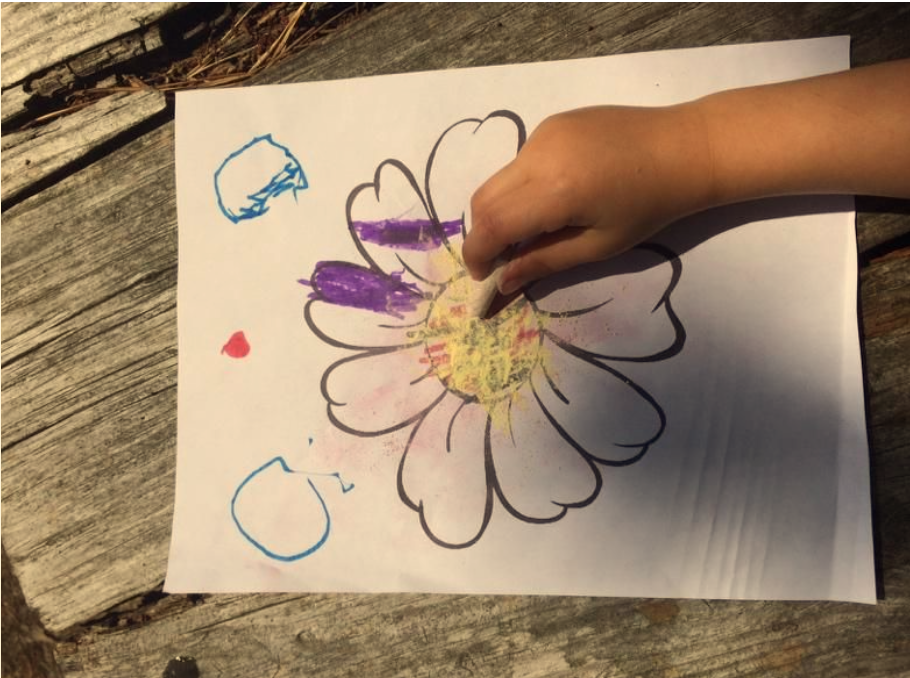
Pass out flower coloring sheets and markers/colored pencils, and let children color their flower. The last step is to use chalk to color the middle of the flower, to represent pollen.
Activity Two:
Ask children if they remember what we talked about last week. Remind them briefly what pollination is, and what insects are pollinators.
Explain that today we’re going to make bees to pollinate our flowers that we made last week. Show them the dead bees, and have the children look at them closely with a magnifying glass. Ask what they notice about the bees. Point out that the bees have furry bodies and legs, which helps the pollen stick to them.
Show the children the materials available for making their bees, and tell them that they can construct their bees however they want. The only thing they must include is something furry (pompoms or pipe cleaners) to help the bee pick up pollen.
Activity Three:
Let the children walk around and see all the flowers, and ask if they remember what we’re going to do with them. Use one of the paper “bees” as an example, and let it land on the flower, rubbing the furry part on the chalk on the flower to represent the bee picking up pollen. Then “fly” over to the next flower, and do the same thing. Explain to the children that the bees’ job is to collect pollen from the flowers and mix it all up. Ask if they remember what the plants can do once they’ve been pollinated- make seeds!
Give everyone their “bee” from week two, and let them fly their bees around the room, pollinating all the flowers. After a few minutes, gather back at circle/a table and ask the children what they notice about the flowers. There should be many different colors of chalk on each flower, and stuck to each bee.
Ask them what the flowers can do now that they’ve been pollinated. They can make seeds! Let the children put some glue on the middle of their flower, and stick on some seeds. Ask the children why it’s important for plants to make seeds. What would happen if there were no pollinators and we had no seeds. Would we have a garden?
Let them bring their flowers and bees home.
Activity Four:
Remind the children what we’ve been learning about, and ask if anyone can remind us what pollination is. Ask them to explain why pollination is important in the garden. Ask- “Do we want pollinators in our garden? What can we do to attract them?” and let them share their ideas. Explain that we’re going to plant a pollinator garden bed full of colorful flowers, which will attract bees and other pollinators to come pollinate the flowers, as well as the other plants in our garden.
Remove any weeds from the garden bed, add mixed compost if using, and rake it in with hand trowels. Smooth out the soil, then demonstrate how to sprinkle the flower seeds over the soil. Give each child a little cup of seeds and let them plant them.
As the flowers grow, remind the children why we have a pollinator garden and try to find pollinators in the flowers.
FOLLOW UP & EXTENSIONS
- After the flowers have grown, do a flower scavenger hunt.
- Pick the flowers in the fall and press them in a large book or flower press.
- Use pressed flowers to make art or Valentines.